To download the Members One WordPress Plugin, navigate to Vendor Panel > Integrations > Connections > Ecommerce > WooCommerce > Download Latest Plugin.
To log in to your vendor panel, click here.
After acquiring the latest version, you can proceed to upload the plugin to your WordPress Store.
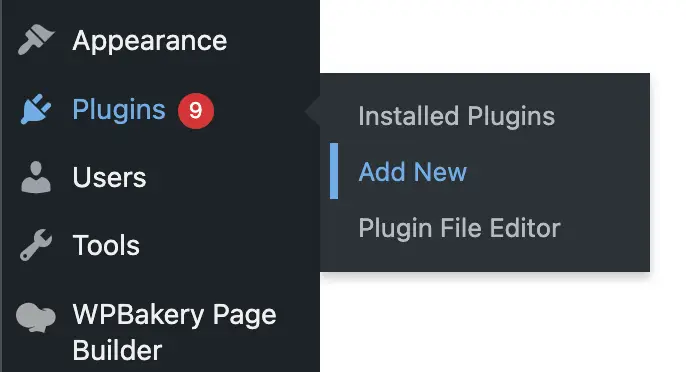
Inside WordPress, navigate to Plugins > Add New.
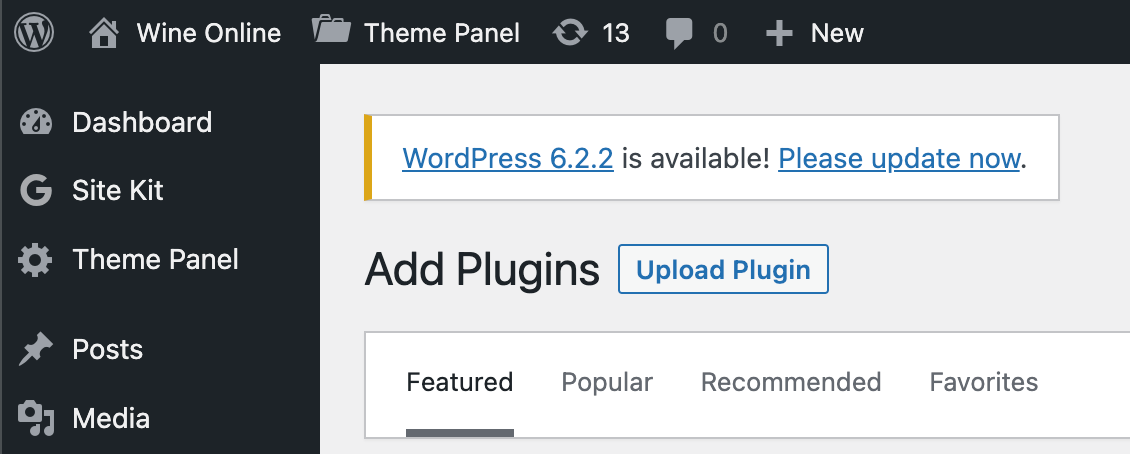
Select Upload Plugin at the top of the screen.
Select Choose File, locate and select the membersone-integration.zip file from your downloads folder.
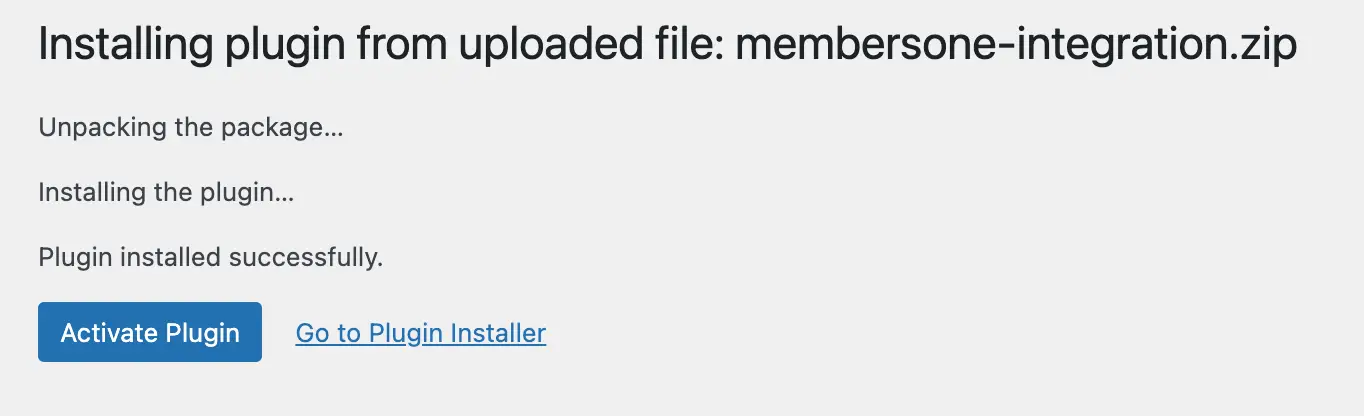
Select Install now, and the plugin will begin to install.

After successfully installing the plugin, the next step is to activate it.
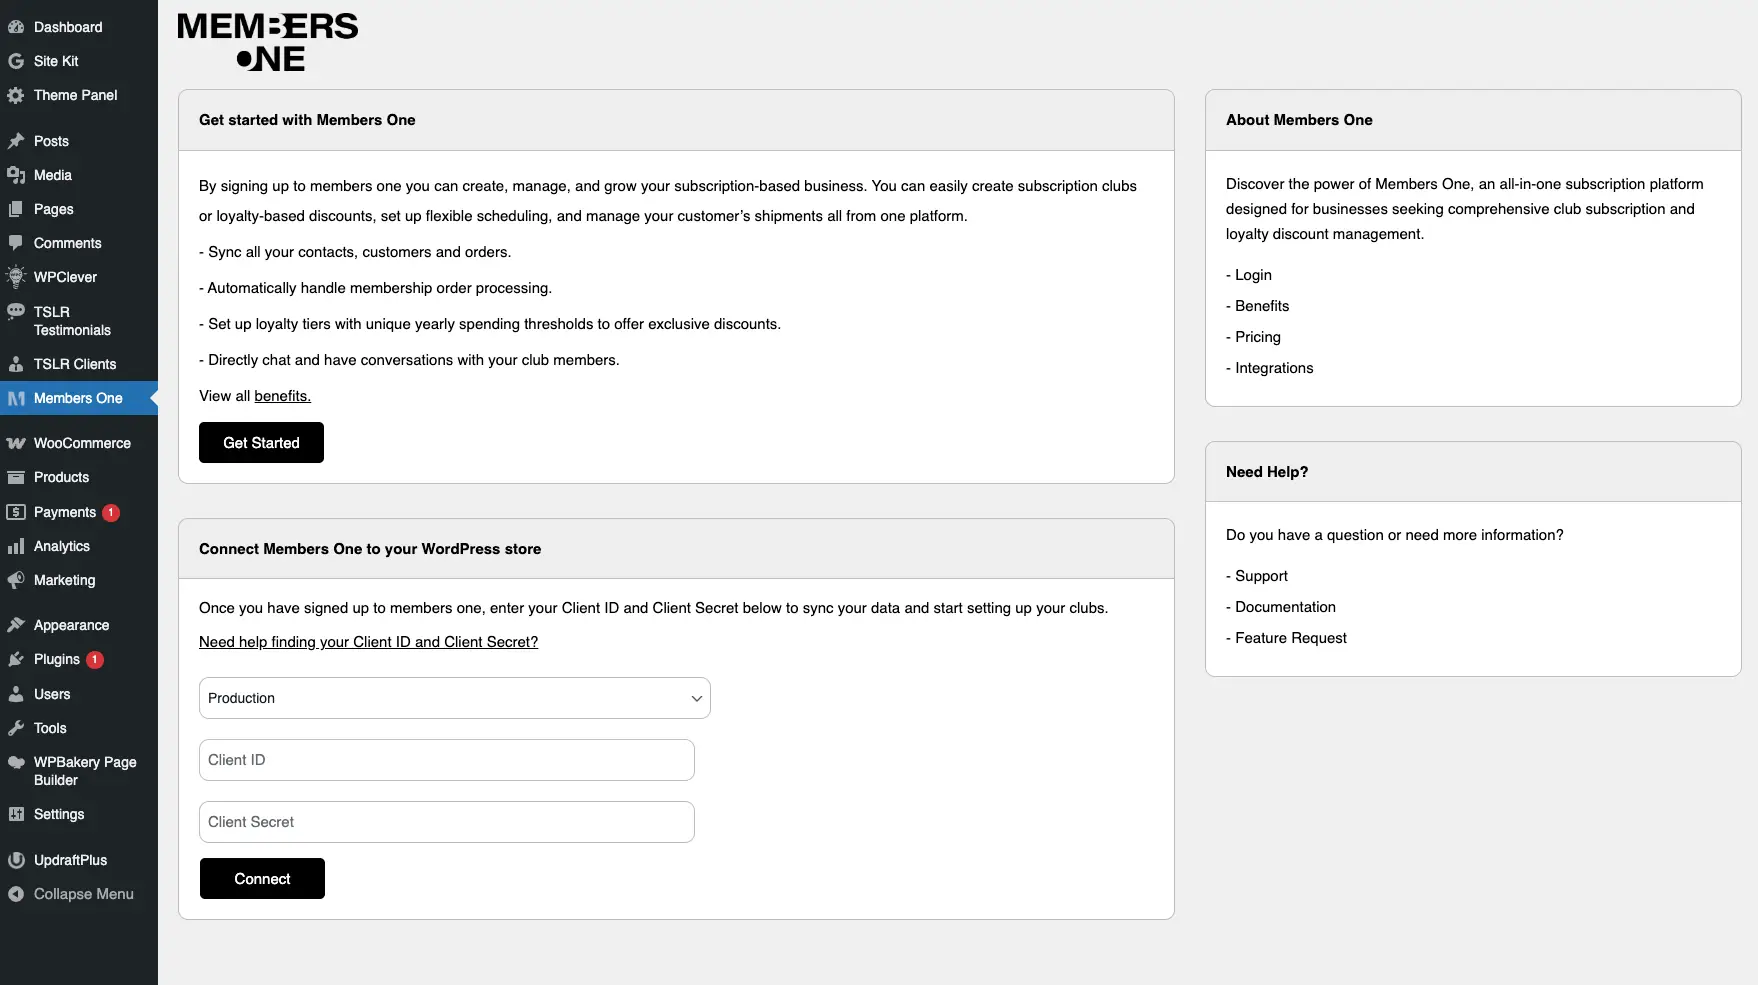
You should now find Members One installed and activated in your list of plugins. To access its settings, either select the settings option or locate Members One in the bottom left-hand menu.

You are now ready to connect Members One with your WordPress site.
|
Plugin Configuration Settings |
|
|---|---|
|
Active |
Enable or disable the plugin. |
|
Client ID |
Your Vendor ID, located in Members One under: Integrations > Connections > WooCommerce. |
|
Client Secret |
Your Secret password, found in Members One under: Integrations > Connections > WooCommerce. |
|
Show In Main Menu? |
When enabled, Members One will automatically add your club page to your website’s main menu. Alternatively, you can disable this option and manually add the club page to your main menu. |
|
Create Club Pages? |
When enabled, Members One will automatically create a club page on your WordPress site. Alternatively, you can manually add the [moi_create_membership] tag anywhere on your site. Create Membership Tag: [moi_create_membership] |
|
Allow Extra Discounts |
|
|
Sync Products? (Recommended) |
Choose whether you want to sync your products or not. |
|
Sync Customers? (Recommended) |
Choose whether you want to sync your customers or not. |
|
Sync Orders? (Recommended) |
Choose whether you want to sync your orders or not. |
|
Save Configuration |
Save the above settings |

