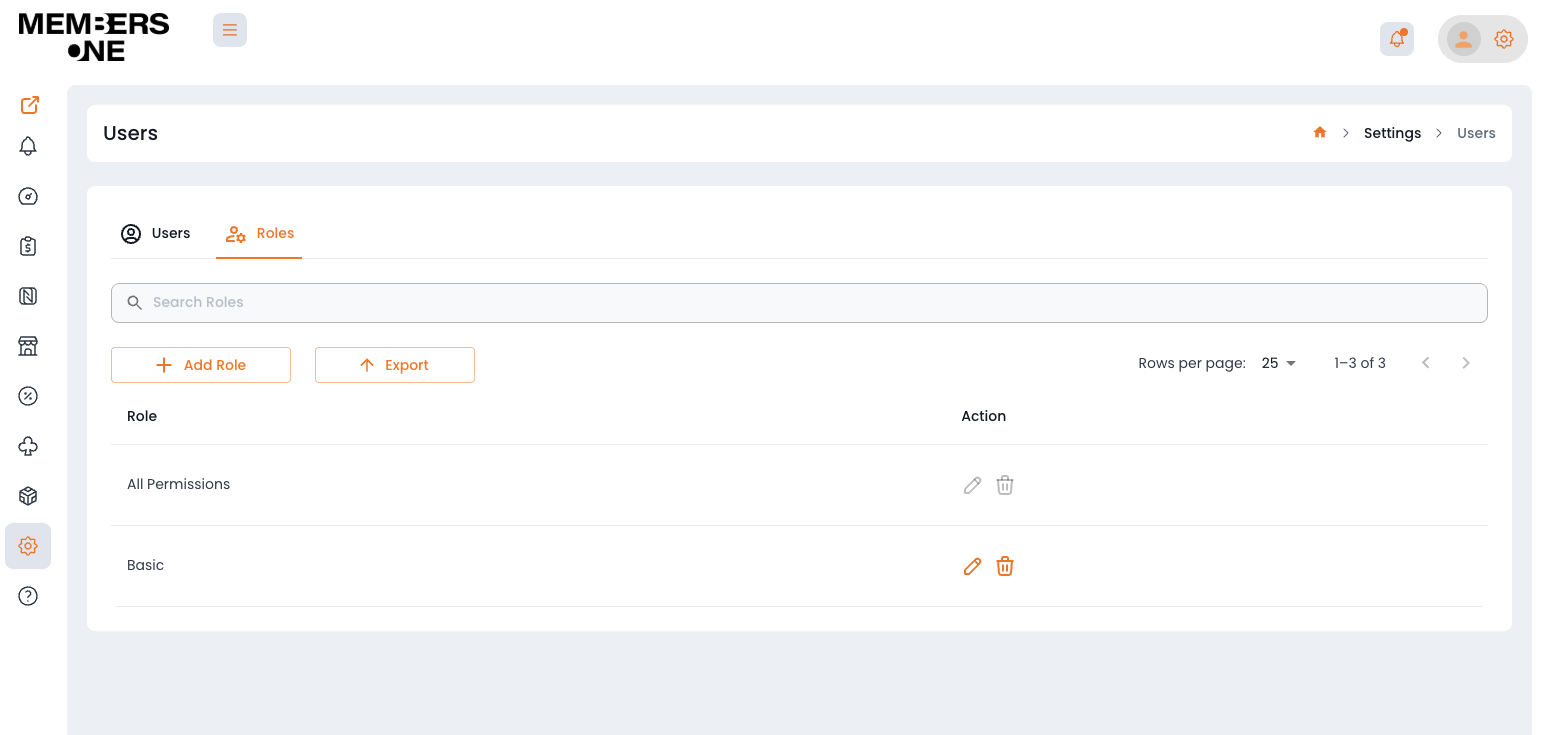
To locate the roles section, please navigate to Settings > Users > Roles.
In this section, you can establish various permission roles and assign them to different users. By default, an “All Permissions” role is assigned to the email address utilised during registration.
If you intend to restrict access to specific areas of the vendor panel, it is recommended to create an additional role and assign the necessary permissions accordingly. Please be aware that restricting permissions will result in certain pages and buttons becoming disabled for that user.

Adding A New Role
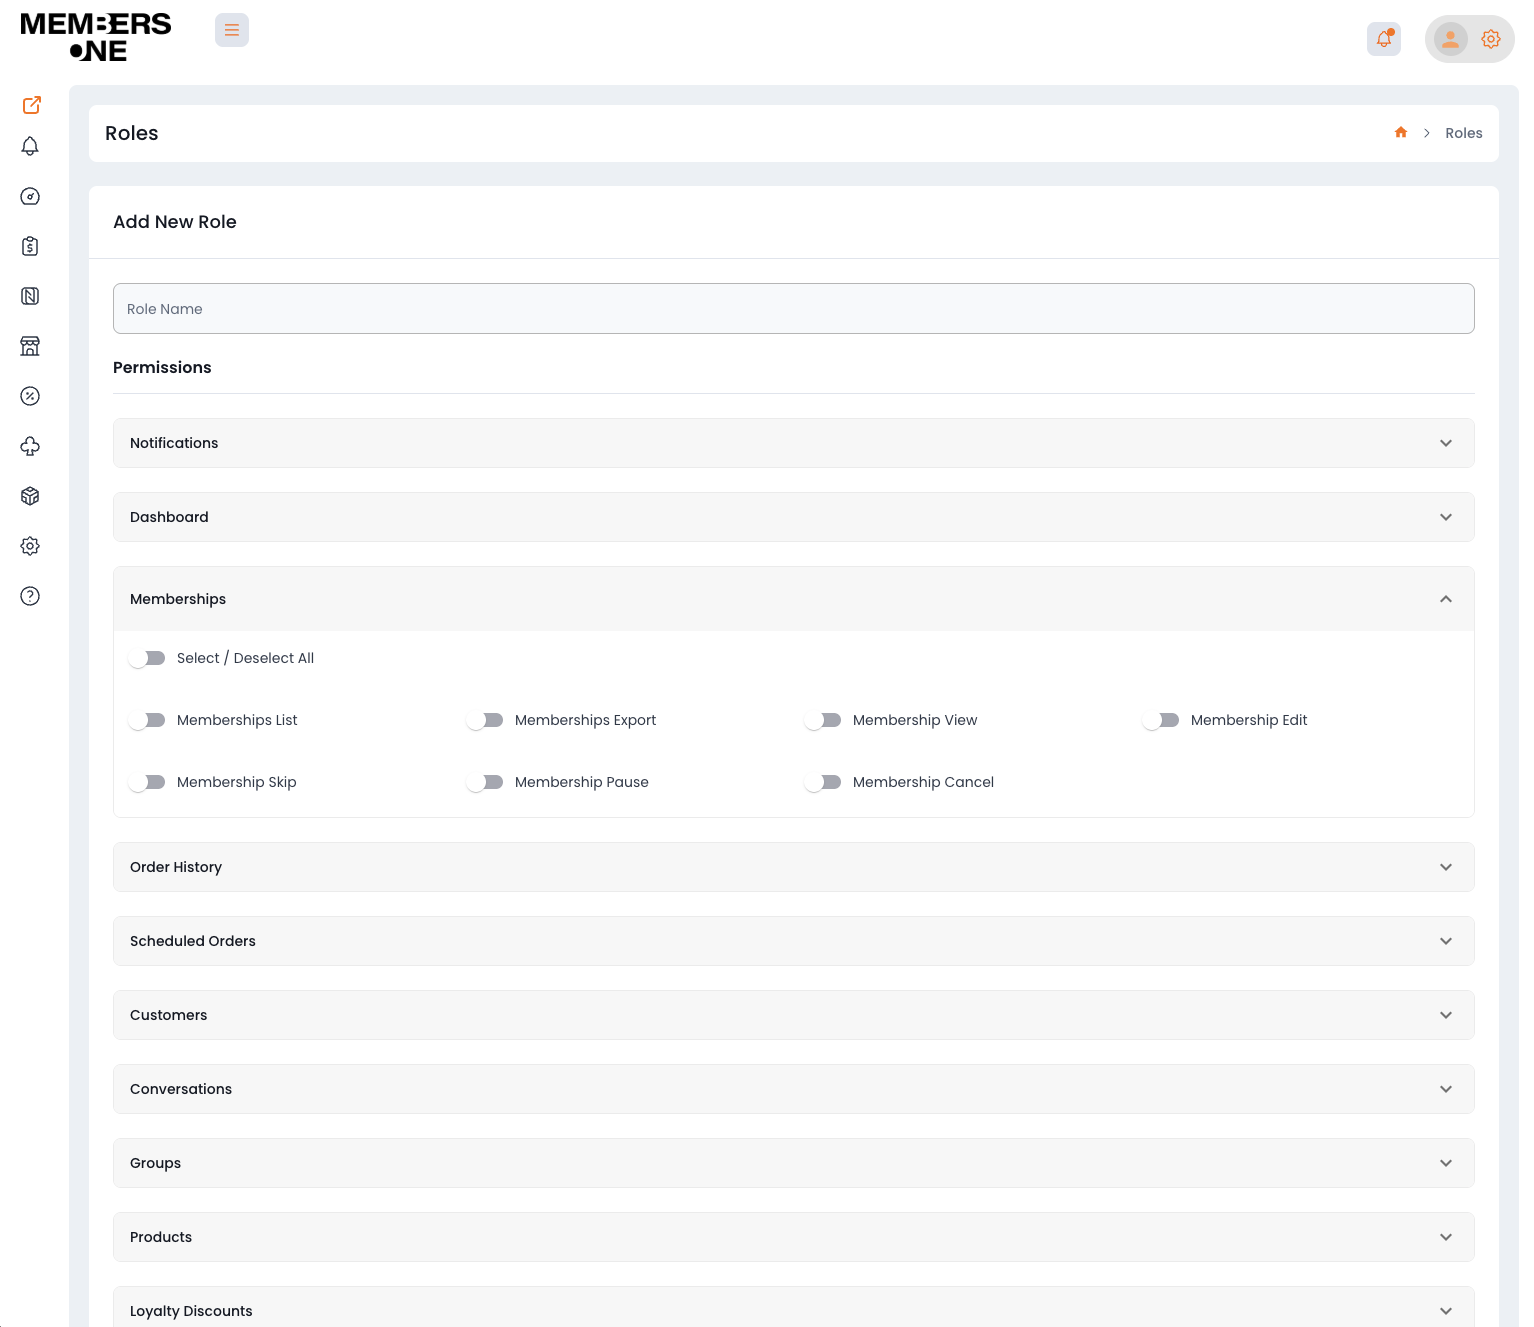
To add a new role, click the + Add Role button.
This action allows you to manage permissions for a specific role. If you want to disable a particular button, you can do so by keeping the List and View permissions enabled while disabling the button permissions. If you prefer to disable an entire page, simply turn off all toggles to prevent user access.

Assigning a Role to a User
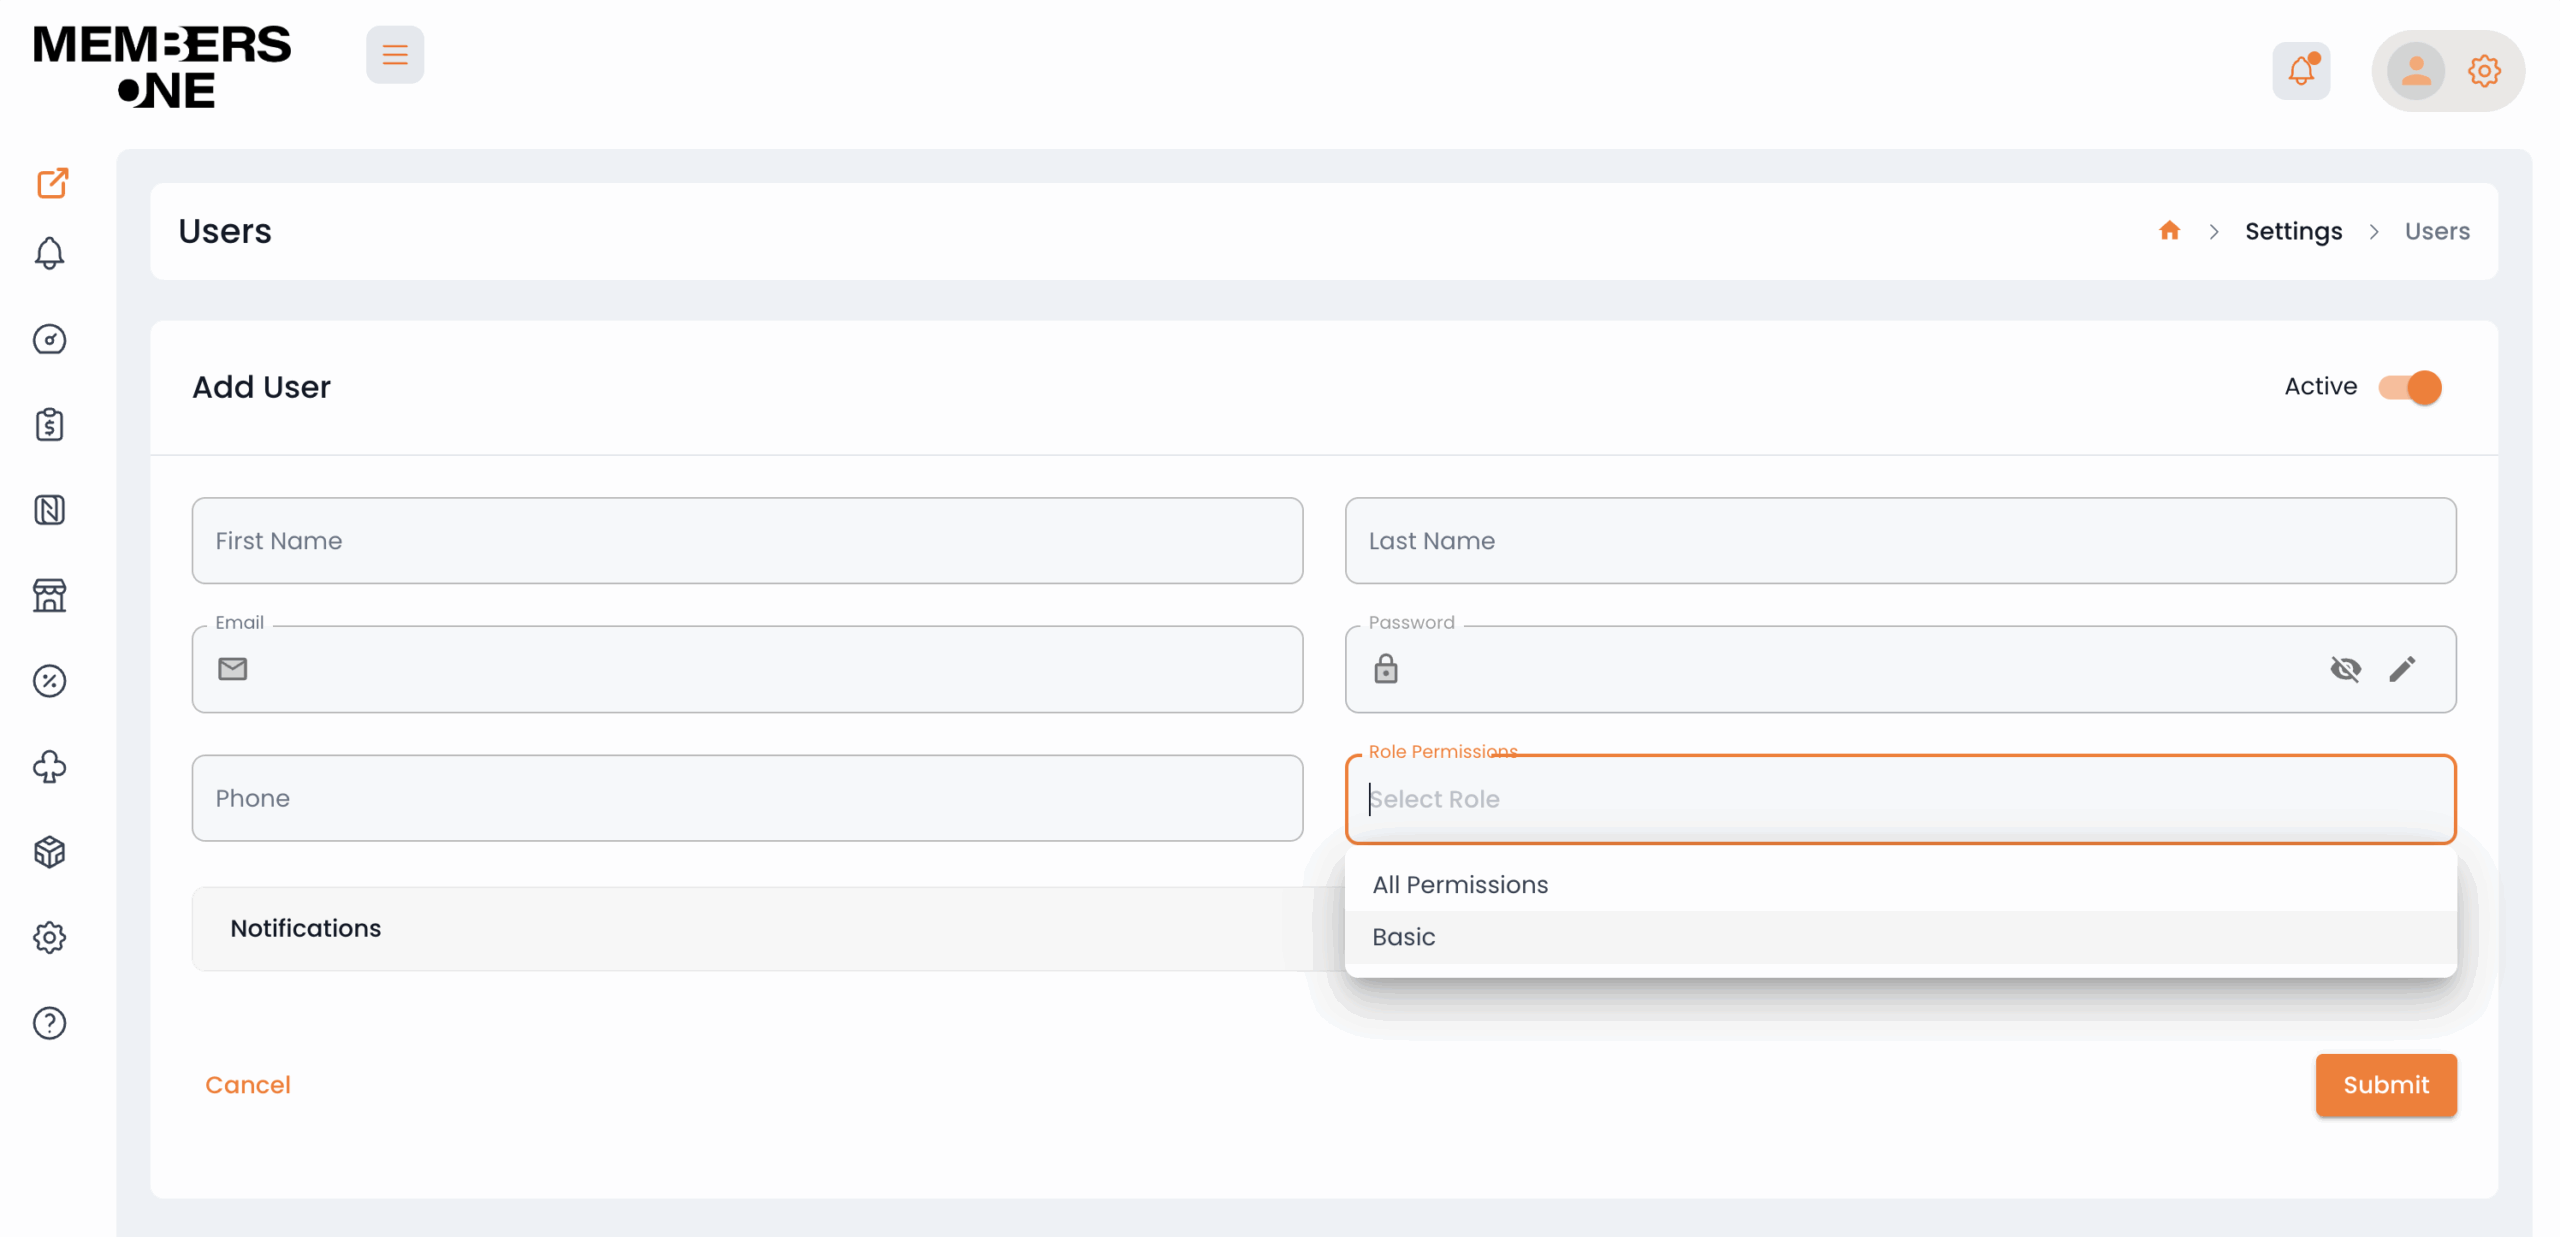
Once you have created the role, it can be assigned to a user account.
To do this, navigate to Settings > Users > Edit User, then select the Role Permission field. Alternatively, you can switch to the User view by selecting Users from the top menu.
Note: Multiple roles can be added to a user account; however, it is recommended to assign only one role for simplicity.

To learn more about managing users, click here.


